Inbound and Outbound Email API (2026): Send and Receive with Rovela
Use one Rovela account to send via POST /emails and receive via inbound MX or ingress, email.received webhooks, and GET /inbound/:id.
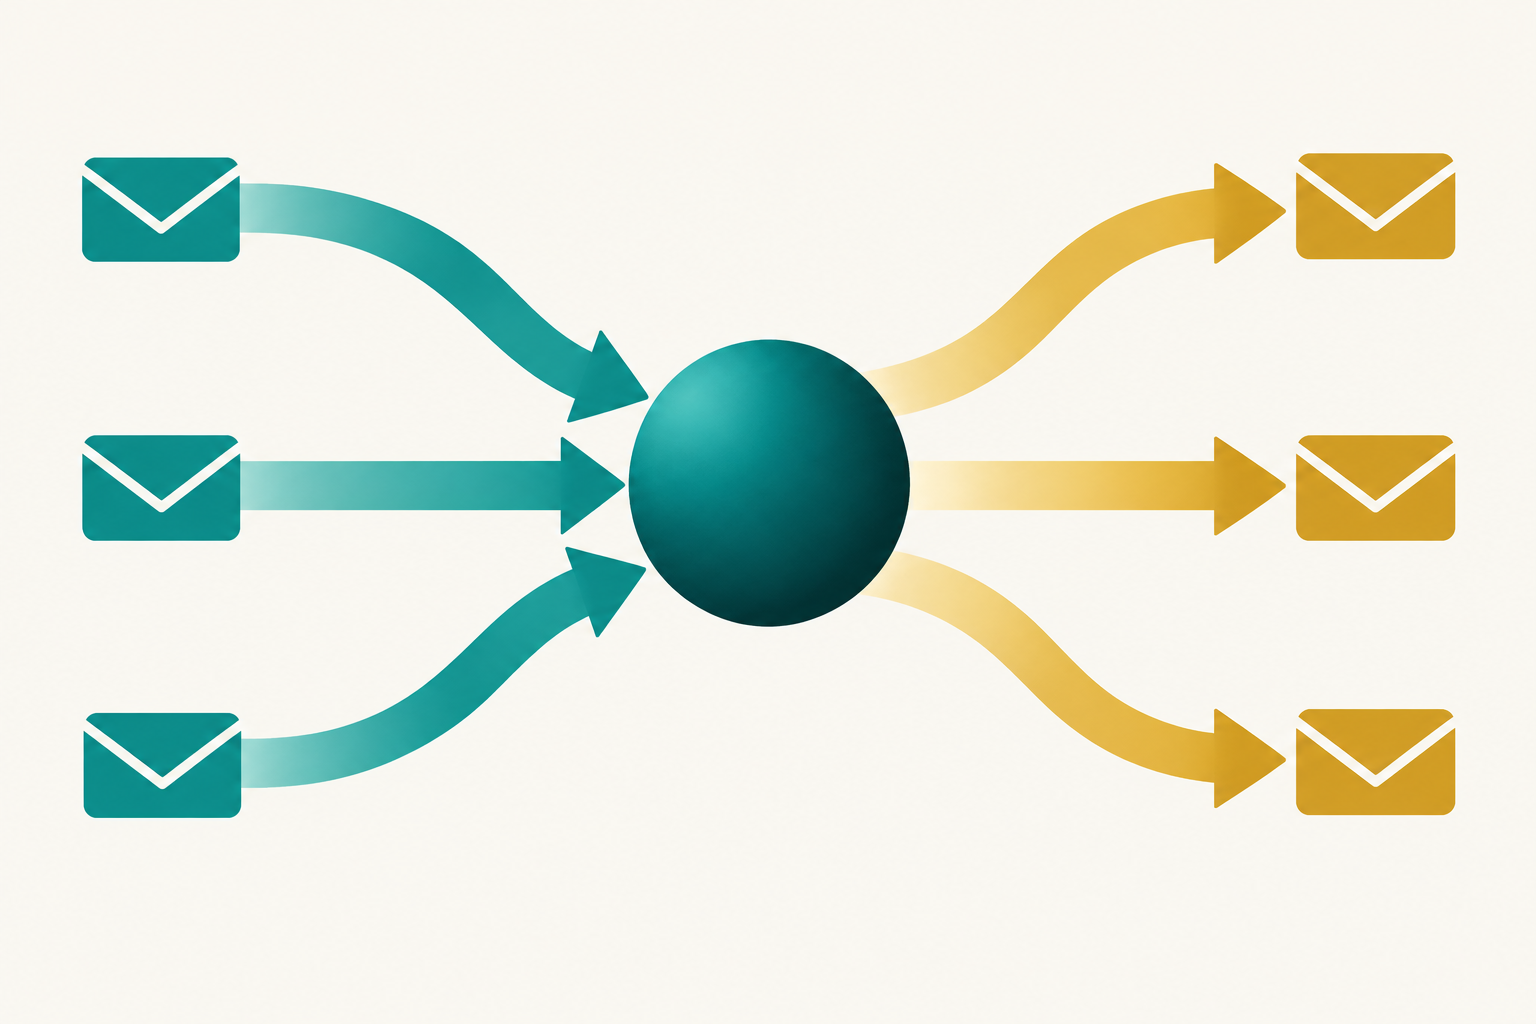
Inbound and outbound email in one API
An inbound + outbound email API is a single product that can send transactional mail and receive messages at your domain, then hand those arrivals to your app. With Rovela, outbound is POST /emails (and batch). Inbound is “turn inbound on for a verified domain, publish MX (or forward to an ingress URL), subscribe to email.received, then GET /inbound/:id for the body.”
This is the combined product picture. The step-by-step inbound implementation, including a full handler, already lives in Inbound Email API Webhooks and the receiving email example. Delivery events for outbound mail are Transactional Email Webhooks. Human inboxes are Transactional Email API + Hosted Mailboxes.
Start from the Email API product page, the Quick Start, the Send Email API, and Authentication. Also Webhooks and the event catalog.
Related product guides in this series:
- Transactional Email API
- HTTP Email API
- Migrate SMTP to an Email API
- Email API for SaaS Apps
- Send Email with curl
- Transactional Email API + Hosted Mailboxes
- Email Sending API
- Email Notification API
- Email API Integration
- Batch Transactional Email API
- Transactional Email Webhooks
- A Simple Transactional Email API
- Send Transactional Email from Your App
- Verified Domain Email API
Outbound: what your app sends
Outbound is the path in Transactional Email API and HTTP Email API: a sending_access key, a verified from, HTML + text (or a template), and an Idempotency-Key for anything retried. A 200 queues the message. Outcomes arrive as email.sent, email.delivered, email.bounced, and related events — or via GET /emails/:id with full_access.
Set reply_to (or send from an address people can reply to) when you want the conversation to come back into the same domain you receive on.
Inbound: what your domain accepts
From the inbound example (this needs a full_access key and a domain you have already verified):
curl -X POST https://api.rovela.dev/domains/<domain_id>/inbound -H "Authorization: Bearer re_your_full_access_key" -H "Content-Type: application/json" -d '{"catch_all": false}'
The response includes enabled, catch_all, an ingress_url (treat it like a secret; calling the endpoint again issues a new one), and the mx record to publish on the domain. Until MX resolves, senders keep delivering wherever the old MX pointed.
- If you omit
catch_allor set it to the documented default oftrue, anything at the domain is accepted. - With
catch_all: false, only addresses you list are accepted (keeps random local-part spam out of the app). Add them withPOST /domains/<domain_id>/inbound/recipients. Mail to an unlisted address is refused at the door. The address must belong to that domain or you get400.
Subscribe to email.received:
curl -X POST https://api.rovela.dev/webhooks -H "Authorization: Bearer re_your_full_access_key" -H "Content-Type: application/json" -d '{"endpoint": "https://app.acme.com/webhooks/rovela", "events": ["email.received"]}'
The event carries envelope and subject, not the body: inbound_message_id, to, from, subject. Fetch GET /inbound/:id with full_access for text and html (either may be null). Inbound HTML was written by a stranger — do not insert it into your pages unsanitized; prefer text for parsing. The from address is whatever the sender claimed, not proof of identity.
List arrivals (newest first, up to 100 per page) with GET /inbound?limit=50&offset=0. If you already run a mail server, you can skip the MX change and POST the raw message to ingress_url (over 2 MB is 413), with X-Envelope-To required and a stable X-Provider-Event-Id so retries do not fire email.received twice.
Signature verification and retry rules are the same as other webhooks (Verifying Webhook Signatures, Webhook security).
Putting both sides in one app
A support-style loop looks like this:
- Your app sends “we received your order” with
POST /emailsandreply_to: support@mail.acme.com(or areply+ticket-381@address). - The customer replies. Inbound accepts the message (recipient list or catch-all), stores it, and fires
email.received. - Your handler verifies the signature, deduplicates on event
id, loadsGET /inbound/:id, and appends the body to the ticket. - Your agent (or your code) sends the next outbound message with the same API, using a new idempotency key.
Do not use the sending key to fetch inbound bodies — reading inbound needs full_access. Keep that key only on the webhook worker.
The event catalog describes email.received as an inbound message accepted for a hosted mailbox; the inbound example also shows domain-level inbound with recipient rules. Follow those docs for the setup you are using, and use webmail when a human should just read the mailbox (Transactional Email API + Hosted Mailboxes).
FAQ
Is this a replacement for the inbound how-to? No. Use Inbound Email API Webhooks when you are writing the handler. This post is why you might want send + receive in one vendor.
Can I use inbound without webmail? Yes — enable inbound on the domain and consume webhooks. Webmail is optional for humans.
Do opened/clicked events apply to inbound? Engagement events are about outbound messages, and only when tracking is enabled on the sending domain (Events).
What belongs on sending_access vs full_access? Outbound POST /emails and batch: sending_access. Enabling inbound, registering webhooks, and GET /inbound/:id: full_access.
One account for the whole thread
Send with the Email API, receive with inbound webhooks, and optionally give people webmail on the same domain. That is an inbound + outbound email API: one vendor, two directions, still just HTTP.