How to set up a domain email address: four steps
A step-by-step walkthrough of adding a domain to an email provider, publishing DNS records, creating mailboxes, and configuring mail clients — with the common mistakes at each step.
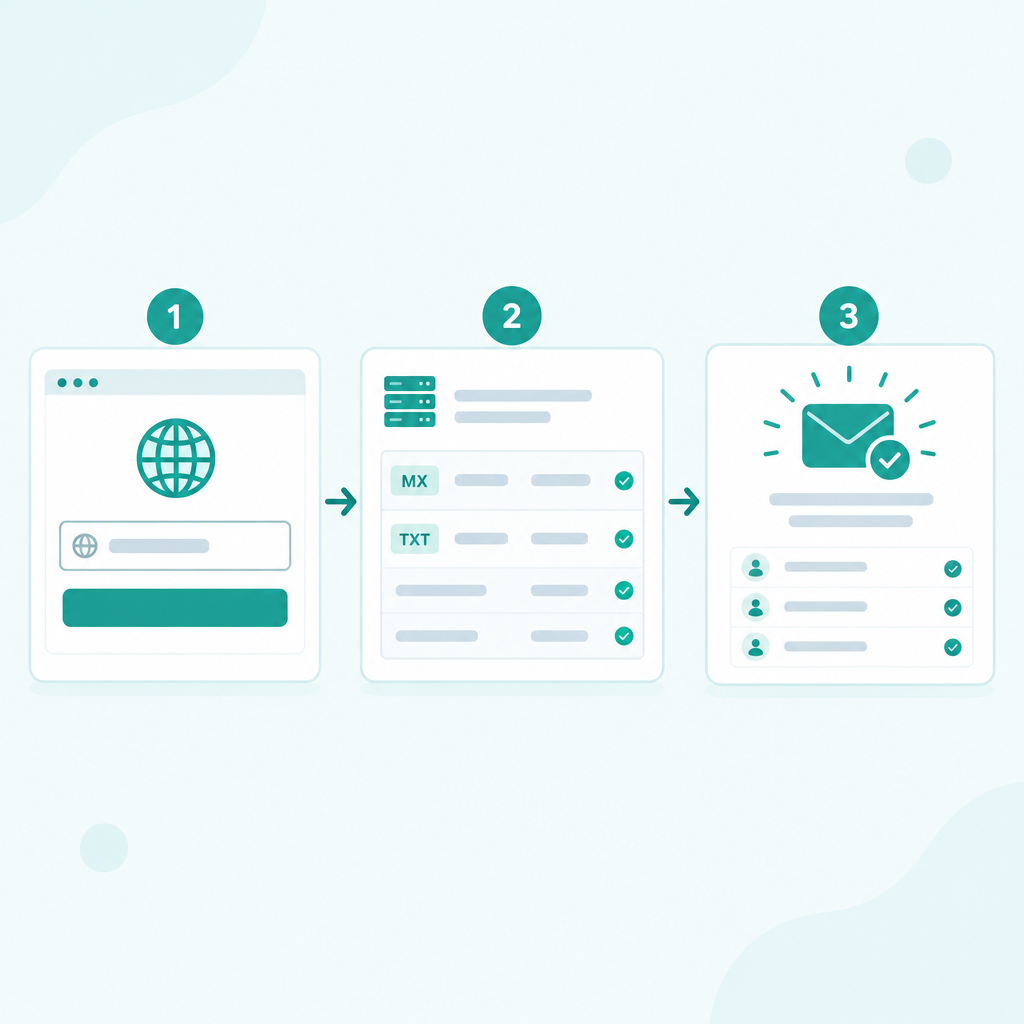
Setting up a domain email address breaks into four steps: sign up with an email provider and add your domain, publish DNS records, create mailboxes, and configure mail clients. The whole process typically takes under an hour; DNS propagation adds anywhere from a few minutes to a day.
Step 1: Add your domain
Create an account with your email hosting provider, add your domain (such as yourcompany.com), and turn on incoming mail. The setup page will list the DNS records you need to publish:
| Type | Purpose |
|---|---|
| MX | Tells other servers where to deliver mail for your domain |
| TXT (SPF) | Declares which servers are authorised to send on your behalf |
| TXT (DKIM) | Public key for signature verification |
| TXT (DMARC) | Instructs receiving servers how to handle authentication failures |
Step 2: Publish DNS records
Log in to your DNS provider — Cloudflare, Aliyun DNS, DNSPod, or your registrar's DNS panel — and add each record the setup page shows. Some providers let you connect your DNS account directly so the records are written automatically.
Hold off on the MX record until you are ready to switch. The MX record controls where new mail lands; changing it before your mailboxes are ready means new mail may be lost or bounce.
Step 3: Create mailboxes
Once the DNS records are in and the domain is verified, open the Mailboxes page and create one for each person. If you have many staff, upload a CSV instead of adding them one by one.
You can import historical mail from the old provider before or after switching the MX — importing beforehand means history is in place the moment people start using their new addresses.
Step 4: Configure mail clients
The webmail works immediately after sign-in. For Outlook, Apple Mail, Thunderbird, or a phone, generate an app-specific password for the mailbox on the dashboard, then fill in the server settings:
- IMAP:
mx.rovela.dev, port 993, SSL/TLS - SMTP:
mx.rovela.dev, port 465, SSL/TLS
Common questions
How long does DNS take to propagate? Usually minutes; up to 24–48 hours in the worst case, depending on the old record's TTL.
Should I add all records at once? SPF, DKIM, and DMARC can go in immediately — they do not change where mail is delivered. Switch the MX only when your mailboxes are ready and you have verified the import is complete.
What happens to existing mail? Use the import feature to copy mail from the old provider over IMAP after the MX switch. Original timestamps, read flags, and folder structure all transfer.
The Rovela domain setup page lists every required record after you add a domain, and supports one-click publishing to Cloudflare, Aliyun DNS, and DNSPod.