Send Transactional Email with Clerk + Rovela (2026)
Custom OTP, welcome, and invite mail from your Clerk backend or webhook via Rovela POST /emails—app owns tokens; Rovela delivers. Not a Clerk replacement; distinct from Supabase and framework OTP guides.
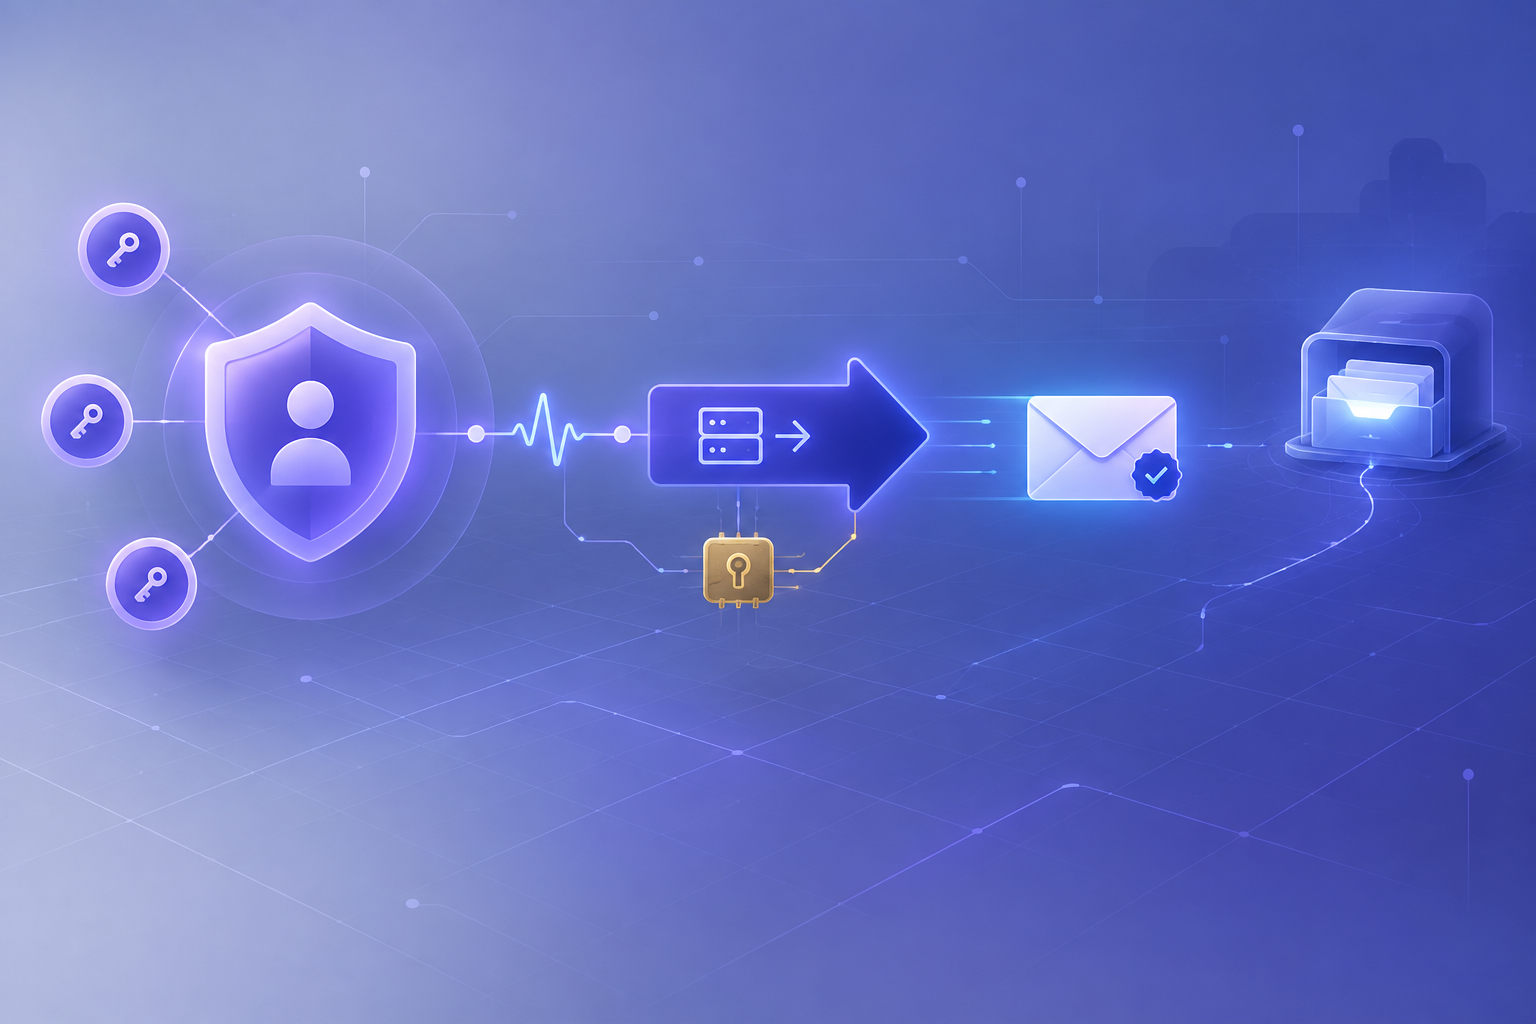
Clerk handles identity — Rovela delivers the mail
Clerk is an authentication and user-management platform: hosted sign-in UI, sessions, organizations, and a Backend API for users and invitations. Many teams ship with Clerk’s built-in email for verification and password resets, then need custom transactional copy—branded OTP HTML, bilingual welcome notes, invite emails with your product’s deep links, or a dedicated mail. subdomain with its own reputation.
This guide keeps Clerk for identity and sends app-owned transactional mail—OTP codes you mint, welcome messages on user.created, workspace invites—by calling Rovela’s HTTP API from a trusted backend or Clerk webhook handler.
Rovela does not replace Clerk. It does not create users, issue sessions, verify OTP codes, or manage invitations. Your server owns tokens, hashes, rate limits, and redeem logic; Rovela only queues, DKIM-signs, and delivers via POST https://api.rovela.dev/emails (Send Email API, Quick Start).
This is not Supabase + Rovela transactional email (Edge Functions + Postgres). It is not a framework OTP walkthrough (Express, Next.js magic link). The integration surface here is Clerk webhooks / Backend API + your Node (or other) server secrets.
When to keep Clerk email vs route through Rovela
| Need | Typical path |
|---|---|
| Stock verification / reset templates from Clerk | Clerk’s built-in email is fine to start |
| Custom HTML, brand layout, code-in-subject, bilingual copy | App-owned send → Rovela |
Separate reputation on mail.yourdomain.com | Verified Rovela domain + your from |
| Welcome / product invite that is not a Clerk template | Always app-owned → Rovela |
| You still want Clerk sessions and components | Keep Clerk for auth; swap only the mail transport for custom flows |
Common pattern: leave Clerk Auth as the source of truth for users and sessions; on events such as user.created (or from your own API after an invite action), mint any codes/tokens yourself, send with Rovela, and verify in your backend—not in the browser.
What you own vs what Rovela sends
Your app (plus Clerk) owns:
- Users, sessions, and organizations (Clerk)
- Minting OTP digits or opaque invite / magic-link tokens with a CSPRNG
- Storing HMAC hashes, expiry, attempt counters (your DB—never the raw code)
- Rate limits (“one send per minute per address”)
- Redeem / verify logic (and any post-verify Clerk Backend API calls you need)
- Verifying Clerk webhook signatures and deduplicating deliveries
- A stable
Idempotency-Keyper logical send
Rovela owns:
POST /emailswithAuthorization: Bearer+ asending_accesskey- Queueing, signing, retries, bounce/complaint handling
A 200 means accepted and queued, not “already in the inbox” (Quick Start).
Prerequisites
- Verified sending domain in the Rovela dashboard. Unverified
fromdomains are refused with400(Quick Start). Prefer a subdomain such asmail.example.comfor auth mail (Why OTP and magic-link emails go to spam). - An API key that looks like
re_…. Prefersending_accessfor production senders (Authentication). - A Clerk application with a Backend API key (
CLERK_SECRET_KEY) and, for event-driven mail, a webhook endpoint + signing secret (CLERK_WEBHOOK_SIGNING_SECRET). - Never put the Rovela key or Clerk secret in the browser, a React Native client, or a public repo. Only a trusted server (or serverless function) may call Rovela or the Clerk Backend API.
Store secrets in the environment
# Example for a Next.js / Node server — names are conventional
export ROVELA_API_KEY=re_your_sending_access_key
export ROVELA_FROM='Acme <security@mail.example.com>'
export CODE_PEPPER="$(openssl rand -hex 32)"
export CLERK_SECRET_KEY=sk_live_...          # Clerk Backend API
export CLERK_WEBHOOK_SIGNING_SECRET=whsec_... # from Clerk Dashboard → Webhooks
Rotate by updating the env and redeploying; revoke the old Rovela key in the dashboard when done (Authentication). Keep Clerk and Rovela credentials in the same secret store your host already uses (Vercel/Fly/Railway env, etc.)—do not hard-code them.
Pattern A: welcome email on user.created (webhook)
Clerk can POST signed webhook events to your endpoint when a user is created (dashboard, hosted UI, or Backend API). Treat the payload as untrusted until you verify the signature (Clerk documents Svix-signed headers such as svix-id, svix-timestamp, and svix-signature). Delivery is at-least-once: return 2xx after you have accepted the work, and dedupe on svix-id (or a stable welcome-{userId} idempotency key) so retries do not spam the inbox.
Minimal Next.js App Router sketch (app/api/webhooks/clerk/route.ts)—verify with Clerk’s helper or the Svix library as in Clerk’s webhook docs, then send:
import { verifyWebhook } from "@clerk/nextjs/webhooks";
import type { NextRequest } from "next/server";
const ROVELA_URL = "https://api.rovela.dev/emails";
export async function POST(req: NextRequest) {
let evt;
try {
evt = await verifyWebhook(req); // reads CLERK_WEBHOOK_SIGNING_SECRET
} catch {
return new Response("bad_signature", { status: 400 });
}
if (evt.type === "user.created") {
const primaryId = evt.data.primary_email_address_id;
const email = evt.data.email_addresses.find(
(a) => a.id === primaryId,
)?.email_address;
const name = evt.data.first_name || "there";
const userId = evt.data.id;
if (email) {
const apiKey = process.env.ROVELA_API_KEY!;
const from = process.env.ROVELA_FROM!;
const res = await fetch(ROVELA_URL, {
method: "POST",
headers: {
Authorization: `Bearer ${apiKey}`,
"Content-Type": "application/json",
Accept: "application/json",
// Stable across Clerk retries for the same user
"Idempotency-Key": `clerk-welcome-${userId}`.slice(0, 256),
},
body: JSON.stringify({
from,
to: email,
subject: "Welcome to Acme",
html:
`<p>Hi ${escapeHtml(name)}, your Acme account is ready.</p>` +
`<p><a href="https://acme.example/dashboard">Open your dashboard</a></p>`,
text:
`Hi ${name}, your Acme account is ready. ` +
`Open https://acme.example/dashboard`,
}),
});
if (!res.ok) {
const data = await res.json().catch(() => ({}));
// Do not log API keys. Surface status + provider message only.
console.error("rovela_send_failed", res.status, data.message);
// Non-2xx makes Clerk retry — only fail if you want a redelivery
return new Response("send_failed", { status: 502 });
}
}
}
return new Response("ok", { status: 200 });
}
function escapeHtml(s: string) {
return s
.replace(/&/g, "&")
.replace(/</g, "<")
.replace(/>/g, ">")
.replace(/"/g, """);
}
Register the URL in Clerk Dashboard → Webhooks, subscribe to user.created, and store the signing secret in env. Prefer returning 200 once the send is accepted (or safely queued in your own job system) so Clerk’s retries stay predictable. For template-driven welcome copy, see Welcome email from a template.
Pattern B: custom OTP from your backend (Clerk session, app-owned code)
When you want a product OTP (step-up confirm, email change, sensitive action) with your own HTML—while the user is already a Clerk user—mint the code on the server, store only a hash, and deliver with Rovela. Clerk still owns the session; your route owns the challenge.
import { auth, clerkClient } from "@clerk/nextjs/server";
import { createHash, randomInt, timingSafeEqual } from "node:crypto";

const ROVELA_URL = "https://api.rovela.dev/emails";

export async function POST(req: Request) {
  const { userId } = await auth();
  if (!userId) return Response.json({ error: "unauthorized" }, { status: 401 });

  const apiKey = process.env.ROVELA_API_KEY!;
  const from = process.env.ROVELA_FROM!;
  const pepper = process.env.CODE_PEPPER!;

  // Resolve primary email via Clerk Backend API — do not trust a client-supplied address
  const user = await (await clerkClient()).users.getUser(userId);
  const primaryId = user.primaryEmailAddressId;
  const email = user.emailAddresses.find((e) => e.id === primaryId)?.emailAddress;
  if (!email) return Response.json({ error: "no_email" }, { status: 400 });

  const body = (await req.json().catch(() => ({}))) as { sendId?: string };
  const sendId = (body.sendId || crypto.randomUUID()).trim();

  // CSPRNG six digits — never Math.random()
  const code = String(randomInt(0, 1_000_000)).padStart(6, "0");
  const codeHash = createHash("sha256")
    .update(`${pepper}:${email}:${code}`)
    .digest("hex");

  // Upsert hash + expiry in YOUR database (omitted). Never store the raw code.

  const res = await fetch(ROVELA_URL, {
    method: "POST",
    headers: {
      Authorization: `Bearer ${apiKey}`,
      "Content-Type": "application/json",
      Accept: "application/json",
      "Idempotency-Key": `clerk-otp-${userId}-${sendId}`.slice(0, 256),
    },
    body: JSON.stringify({
      from,
      to: email,
      subject: `Your Acme code: ${code}`,
      html:
        `<p>Your verification code is</p>` +
        `<p style="font-size:28px;font-weight:600;letter-spacing:4px"><b>${code}</b></p>` +
        `<p>It expires in 10 minutes. If you did not ask for it, ignore this email.</p>`,
      text:
        `Your verification code is ${code}. It expires in 10 minutes. ` +
        `If you did not ask for it, ignore this email.`,
    }),
  });

  const data = await res.json().catch(() => ({}));
  if (!res.ok) {
    return Response.json(
      { error: "send_failed", status: res.status, message: data.message },
      { status: 502 },
    );
  }

  // Identical public shape whether or not you later hide account existence
  return Response.json({ ok: true, emailId: data.id });
}
Verify in a second route with constant-time compare against the stored hash, then delete the row. Postgres shape matches the verification-code example. Product choice between codes and links: Email verification: code vs link.
Pattern C: invite email you compose yourself
Clerk can create organization invitations through its Backend API and may send its own invite mail depending on your Clerk configuration and plan. When you need fully custom invite HTML (deep link into your app, bilingual body, attachment-free transactional layout), create the invitation (or your own invite token) on the server, then send the message with Rovela using an Idempotency-Key such as clerk-invite-{invitationId}. Do not send invites from the client with a Rovela key.
await fetch("https://api.rovela.dev/emails", {
  method: "POST",
  headers: {
    Authorization: `Bearer ${process.env.ROVELA_API_KEY}`,
    "Content-Type": "application/json",
    "Idempotency-Key": `clerk-invite-${invitationId}`,
  },
  body: JSON.stringify({
    from: process.env.ROVELA_FROM,
    to: inviteeEmail,
    subject: "You're invited to Acme",
    html: `<p>Join the workspace: <a href="${inviteUrl}">Accept invite</a></p>`,
    text: `Join the workspace: ${inviteUrl}`,
  }),
});
Idempotency on webhook and API retries
Clerk webhooks, your queue, and platform retries can all replay a POST. Without Idempotency-Key, a timeout can deliver two welcome emails or two OTP codes that disagree.
Per the emails API:
- Header ≤ 256 characters
- Remembered for 24 hours; replay returns the original response
- Derive from something stable (
clerk-welcome-{userId},clerk-otp-{userId}-{sendId}) - A deliberate resend that mints a new code must use a new key
- Also store processed
svix-idvalues so side effects besides Rovela stay once-only
Errors you will actually hit
Same shape everywhere (Quick Start):
400naming your domain —fromnot verified in this Rovela org400recipient is suppressed: …— prior bounce/complaint; ask for another address401— bad or revoked key429— honourRetry-After; keep the sameIdempotency-Keyon retry
Do not tell the user “check your inbox” when the API refused the send. On webhook handlers, decide deliberately whether a Rovela failure should return non-2xx (Clerk retry) or 200 after you enqueue a local job.
Checklist
- Verify
mail.example.com(or your chosen domain) in Rovela; SPF/DKIM/DMARC pass - Create a
sending_accesskey; store only in server env next toCLERK_SECRET_KEY - For event mail: webhook endpoint +
CLERK_WEBHOOK_SIGNING_SECRET; verify signatures; dedupesvix-id - For OTP: table for HMAC hashes + expiry + attempts; resolve email via Clerk Backend API, never from the client alone
fetchwith bothhtmlandtext+Idempotency-Key- Watch delivery via dashboard message page or Rovela webhooks—not by assuming
200means inbox
Soft docs: Send Email · Authentication · Email verification codes · Quick Start.